What’s involved in the creation of a podcast?
I want to start a podcast, but have no idea of what’s involved.
I have a great idea for a show. Do I just upload the audio to my website?
These are all questions and thoughts I hear from budding podcasters, so I’ll attempt to answer them in this post.
There are four stages to episode creation. We’ll go through each one in detail.

Preparation
– Decide on the topic/angle of the episode.
– Prepare an outline or a script.
– Schedule the recording.
Content Creation
– Record the audio.
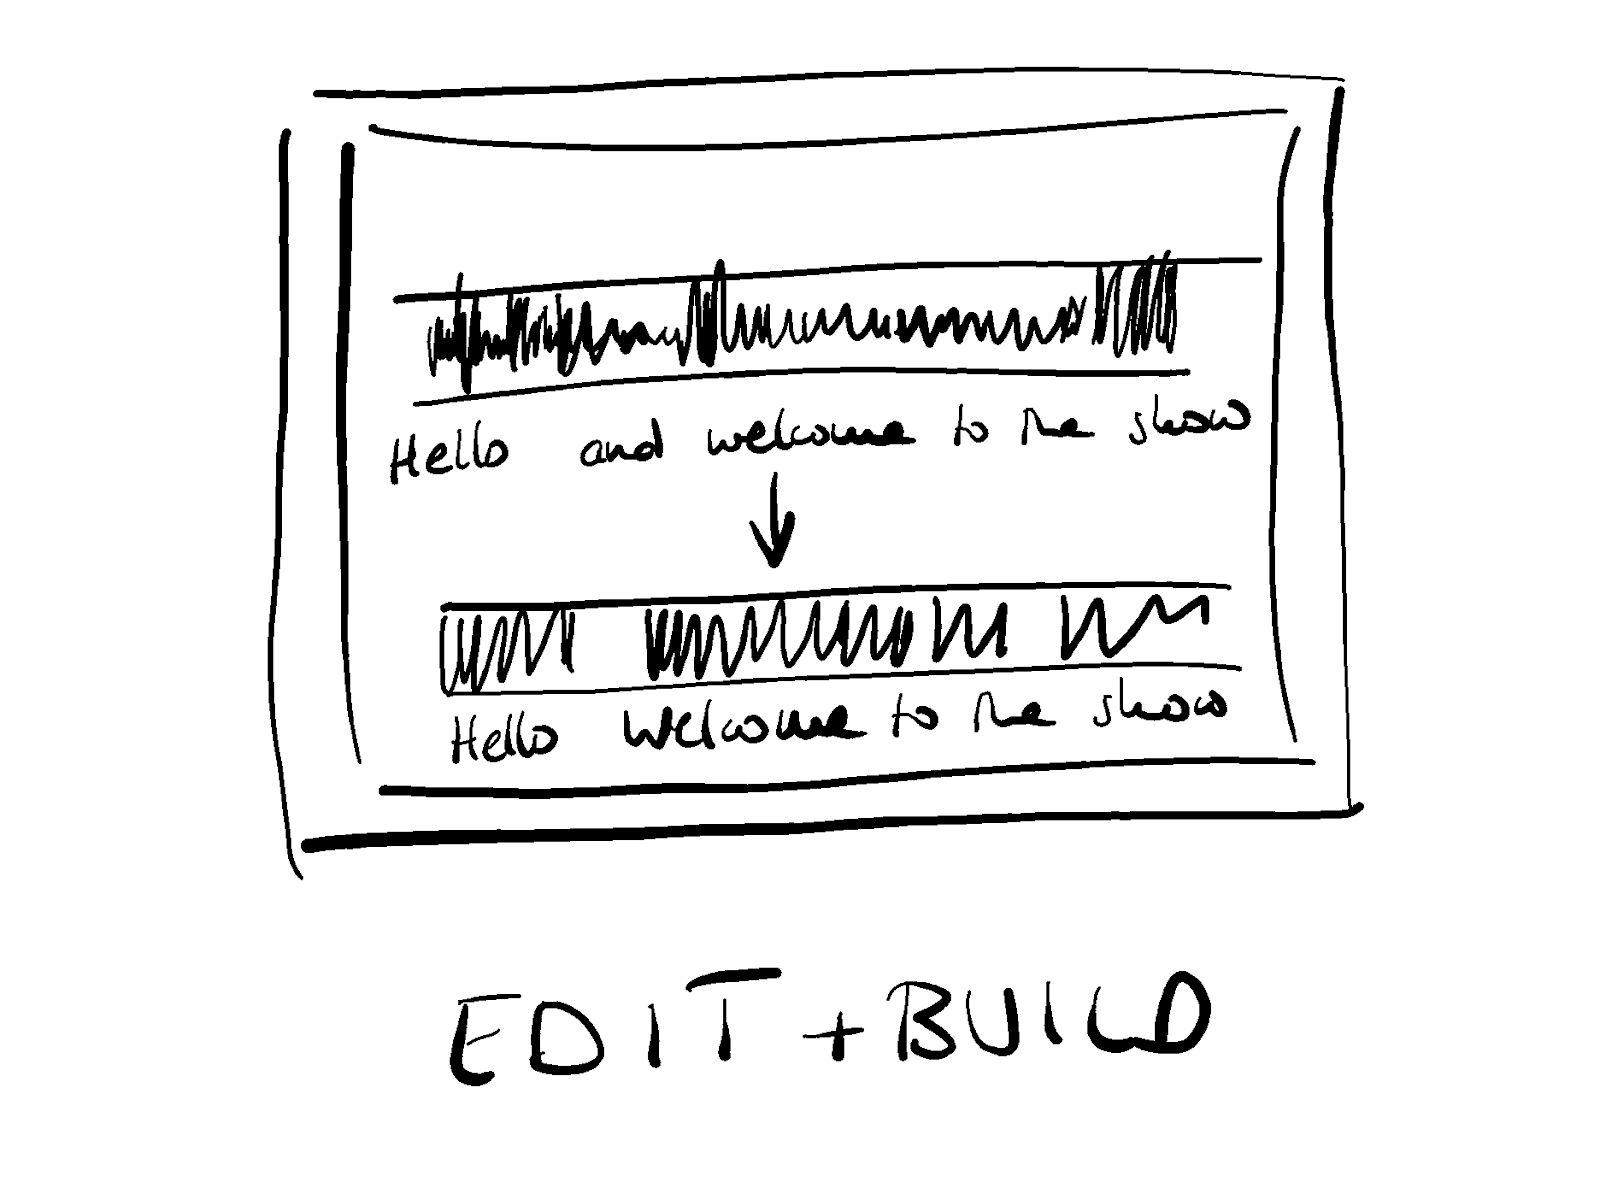
– Edit the audio. (Chop out any unwanted bits; move around sequences.)
File Creation
– Stitch the different audio parts together.
– “Polish” the audio and make it podcast ready.
– Create mp3 file.
Consolidation
– Publish your file through your podcast media host.
– Create show notes (however short).
– Create audiogram, share on social, etc. (optional)
The preparation stage is pretty simple and will depend from person to person, and from episode to episode, so I’ll leave that up to you.
STAGE 1. Podcast Episode Content Creation

Before you buy your kit, remember that microphones work best when they are in a soundproof environment, which are difficult to design if you are recording from home.
If you can choose which room to record in, pick a small one with soft furnishings.
Podcasting is a very forgiving medium, so don’t worry about the odd noise creeping into your recording. As long as the sound is not under your speech, you can always edit it out.
If the noise is under your speech however, with some exceptions (e.g. a constant hum), you will not be able to separate noise from speech in the edit.
Recording assets
Don’t buy any kit before you have a plan for your show.
At a minimum, you will need:
– A USB microphone
You might not even need a USB microphone if your smartphone can give you decent quality audio, or if you have a microphone that you can plug into it.
I recommend the Blue Yeti.
(Affiliate link.)
– A pop filter (optional, but recommended)
A pop filter absorbs the air from your plosives (mainly your “p”s), which can distort the sound.
– Headphones
When recording with someone else, especially if you are recording over the internet, you need to wear earphones or headphones. This will make sure your microphone doesn’t record sound from the other person or their environment.
If you’re using a USB microphone, with no amplifier, then a cheap set of earphones, or ones you would use with your phone will be more comfortable than a big pair of headphones. The large headphones will dampen your voice and you will hear it muffled in your ears.
– A computer with recording software
When recording your own tracks, I recommend Audacity, for its affordability (it’s free!) and ease of use. (This article provides a good introduction.)
If you use a Mac, have a look at Garageband, which comes as part of the iOs.
For recording with a guest/co-host, you can use Zoom, but make sure you can set the platform to record “split tracks”. If you’re recording with a co-host, you will get the best audio quality if you both record locally. You can do this on Audacity, or an online audio recording platform.
If you want to go, “pro” choose a platform like Zencastr.
Note:
Even within this simple set-up, there is plenty to think about. Instead of investing time and money in obtaining the highest quality audio at this stage, invest your time in planning your content and recording your first episodes. You will then know whether you are in podcasting for the long-term, and whether it’s worth investing in high-quality gear. Remember that when you buy an expensive bit of technology, you don’t invest only money. You’ll also need to invest time in learning how to use the gear.
STAGE 2. Podcast Episode File Creation
You’ve recorded your content. Let’s make it podcast ready.
This is where most new podcasters invest their time: learning how to edit audio, building an episode, and cleaning up the file.
Some podcasters outsource this phase of the creation process. Even if you are going to hire someone else to help you with this process, I recommend that you work on a couple of episodes first yourself. It will give you an idea of the amount of work involved. What’s more, it will force you to listen back to your own voice and assess how you’re coming across. It will also fine-tune your critical ear.
For editing the recordings, I recommend Audacity or Garageband.
Building your episode
Once your tracks have been edited, it’s time to put all the bits and pieces together. How much time this takes will depend on the format of your show.
This is the stage where you would add your pre-recorded intro and outro, and add music to move the listener from one section to the next.
You can use your same editing programme.
Polishing your episode
Before you upload your file to your media host, you’ll need to clean it up. This includes levelling the sound (so that some voices are not louder than others, and music doesn’t blast out someone’s eardrums), removing room noise and ensuring the files are of an acceptable “perceived loudness”, measured in LUFS. You will need to export the file to the right spec, which you will find in your podcast media host’s help pages.
If you want to learn how to make your file podcast-ready, then there are plenty of tutorials, blog posts and books out there to teach you the basics.
I recommend you use something like Auphonic – it gives you two hours for free a month.
STAGE 3. Consolidation
You’re now ready to upload your file to your podcast media host and let them push it out to “wherever people listen to podcasts”. Your episode will take less than a couple of hours to appear in every app.
As part of your episode creation workflow, you might also do some of the following.
Show Notes
Show notes have two functions: letting potential listeners know what the episode contains, and providing listeners with a roadmap of the content. An effective way of creating show notes is to prepare them before recording, and use them as a guide.
Episode artwork
This is a bonus. Episode artwork includes the title of each episode and profile pictures of guests. It will appear in some podcast apps, but others will just show the main artwork and can be used in your blog posts and social media.
Audiogram
Another bonus and one that is becoming popular at the time of writing. An audiogram places an animated sound wave over your episode artwork, while playing a short clip of your show, and a transcript of that section.
Whether you include any of the above will depend on how much time you can spare, or how much money you can spend on hiring someone else.
Next Podcasting Steps
As you can see, there are quite a few steps to getting an episode ready. If you don’t have time to see the file production process all the way through, or you simply don’t fancy learning yet another new skill, you can outsource most of the editing, file creation and consolidation steps.
Above all, don’t let the process put you off.
The more episodes you put together, the easier it will get. The less time it will take to share your work with the world.
If you are new to podcasting, beware of letting the “pull of the tech” take you away from creating the work.
If you know what I mean and need a little pep talk, check out this other blog post.
Need any help? I can help you through the early stages of creating your show. Get in touch. Or read my book!

Give your idea SHAPE.
Estimate the TIME you’ll need.
Plan your first ten EPISODES.
Craft your host PERSONA.
If you find the blog useful, and are looking for media hosting and web hosting, consider using my affiliate links to Buzzsprout and Bluehost.